While I wish the move was into a ginormous, light-filled studio space with every creative gadget known to mankind, it’s actually a digital shift in communications. In an effort to streamline the process a bit, this blog is merging into our new blog—inspire.design.create—so check it out at www.urbanloonstudios.com. And, while there, don’t forget to sign up for the Urban Loon Studios newsletter to be the first to learn about new products, sales, and specials by Hobbs Designs.
Blog Page
Red Barn Buddies Inspiration
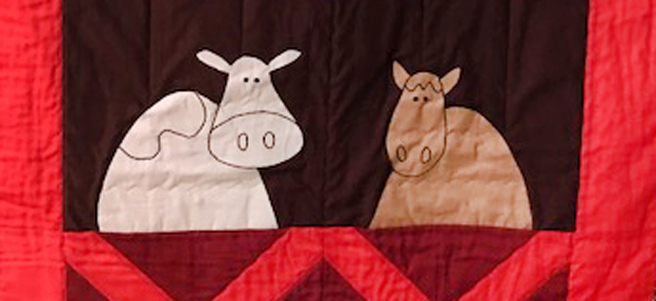
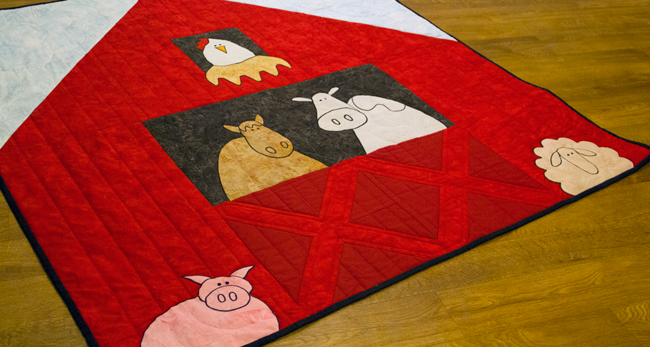
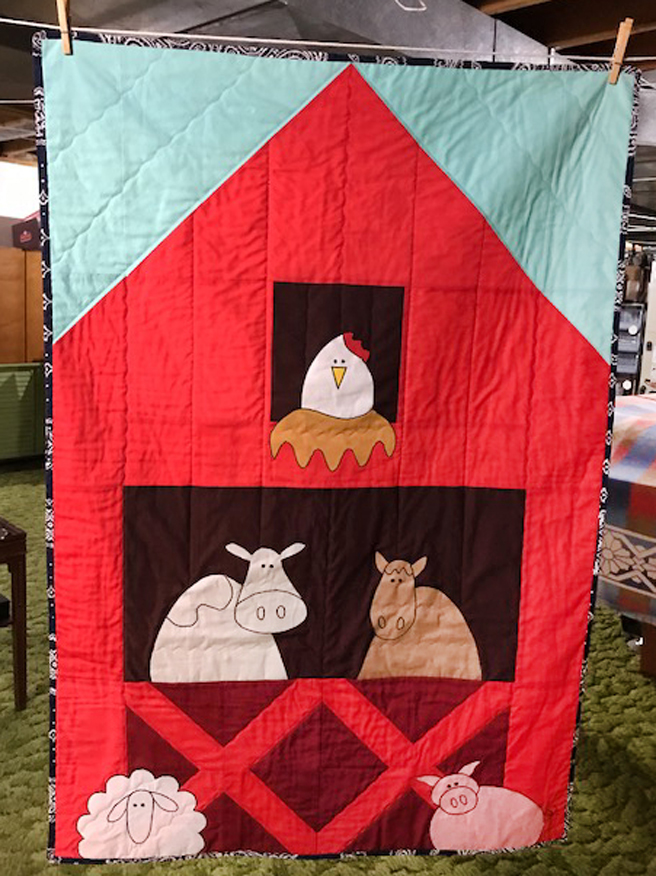
I am absolutely thrilled when someone shares a quilt they’ve made with one of my patterns. Kathy D. just sent in this amazing take on my new pattern, Red Barn Buddies.
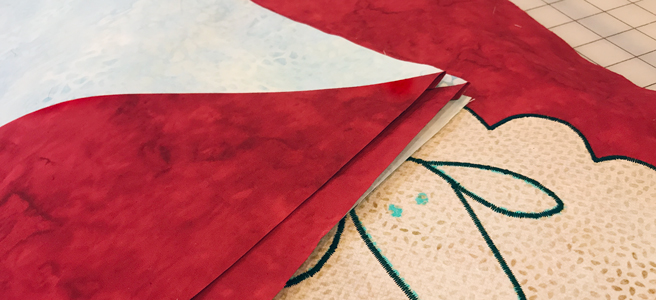
Kathy makes lap quilts for Wheels for the World which provides wheelchairs worldwide to those with limited mobility. She had to do a bit of modifying to end up with a finished size of 32” x 48” and flipped parts so she could use her preferred freezer paper technique. I’m totally blown away with the end result.
This just makes me smile for so many reasons!
Red Barn Buddies: PDF Pattern Release
Yay! It’s time to announce another pattern release. I have to admit it took me a bit longer than I’d planned, but better late than never!
If you’re interested in purchasing the pattern, it can be found on www.urbanloonstudios.com.
Printed copies are in the works, so if you’d like to pre-order or you are a shop looking to order wholesale, please email me at chris@hobbsdesigns.com.
Dishtowel Bib Tutorial
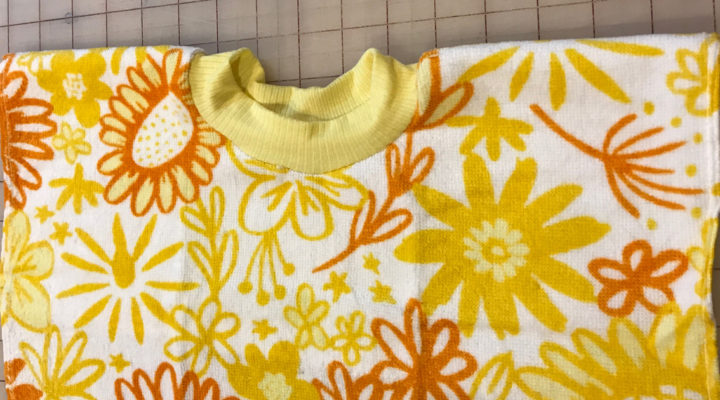
With my latest quilt pattern design at the testers, I decided it was time to take a break from quilting. It seems like my mom made hundreds of these for my boys when they were little. They were so popular that their daycare asked her to make some for them, so of course, she obliged (the boys weren’t even a bit spoiled!).
Supplies:
- 1 dish towel
- 12.5” x 3” ribbed knit (sized to fit a baby)
Tools:
- Rotary cutter and mat/scissors
- Pins
- Serger or sewing machine
- Circle template (a DVD works great for this size!)
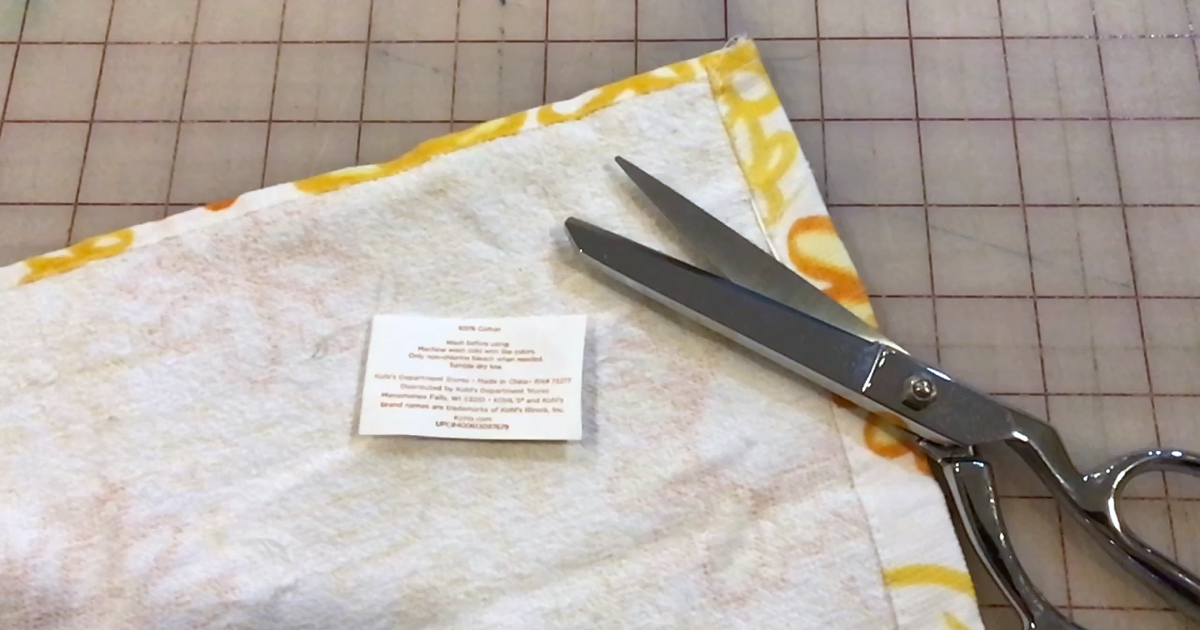
Trim the tag off the bib so it doesn’t scratch the child’s neck.
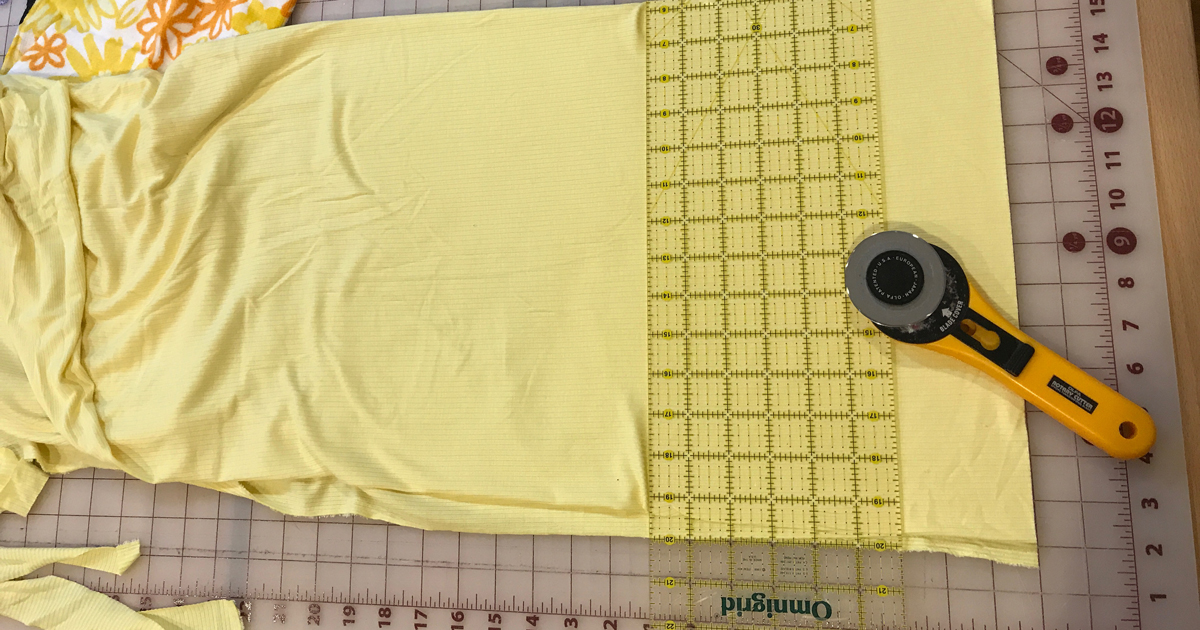
Cut the knit ribbing into a 12.5″ x 3″ strip.
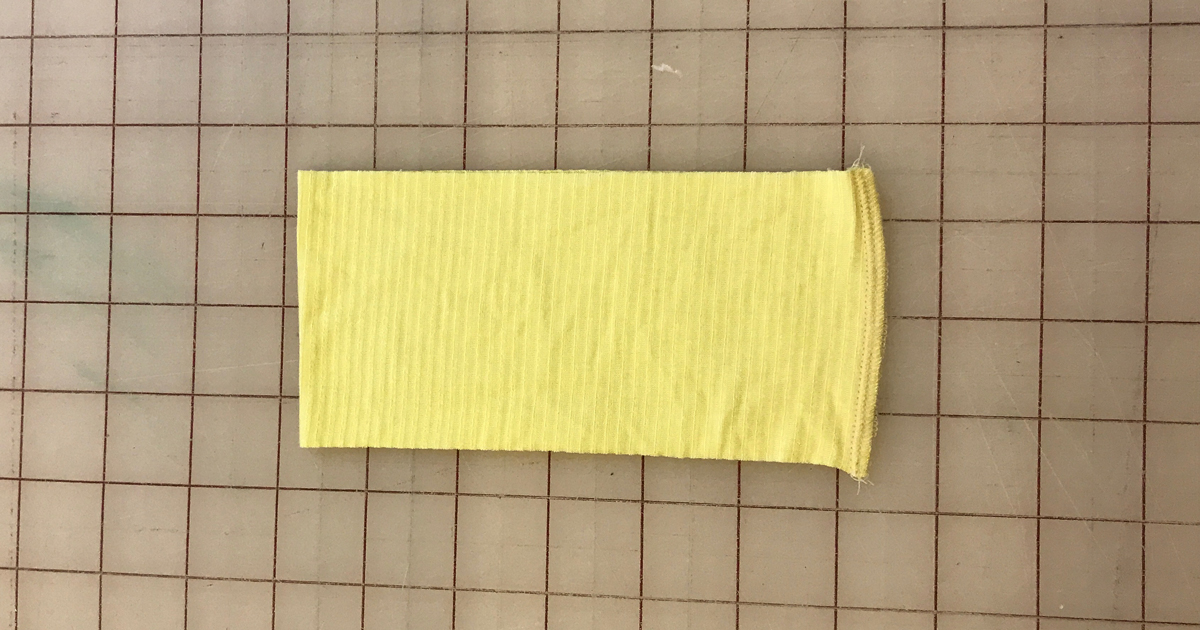
With the right sides together, fold the strip in half widthwise (6.25″ x 3″) and sew the 3″ ends to create a tube.
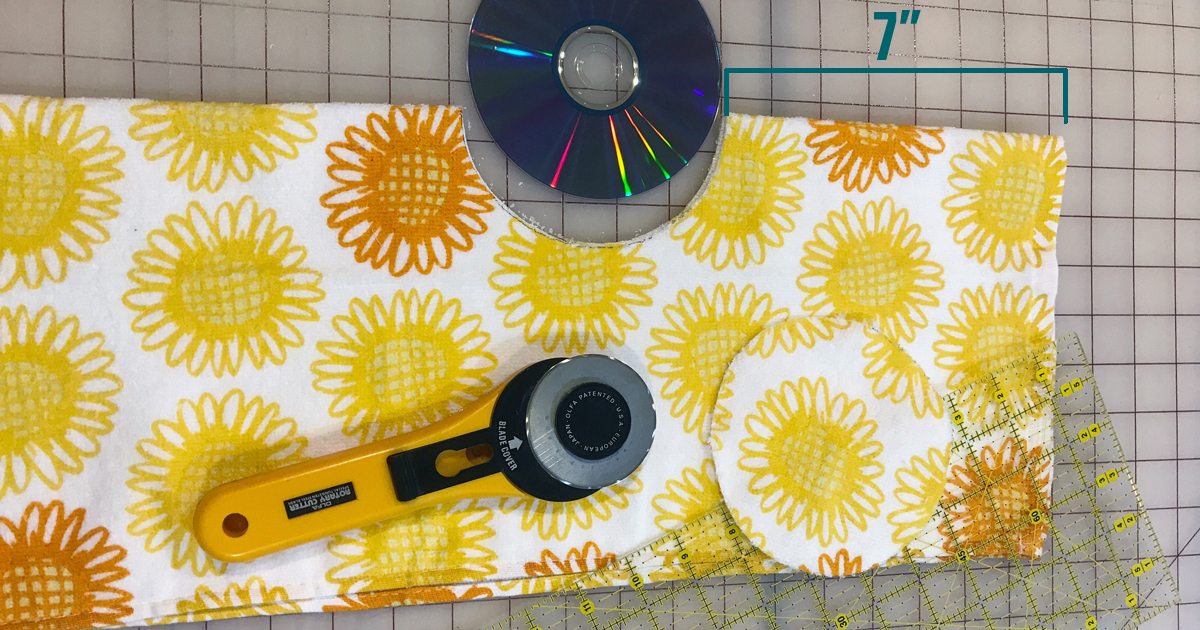
Fold the dishtowel in half lengthwise. Mark and cut a 4.625″ circle about 7″ inches from the top of the dishtowel. (A DVD is the perfect size!)
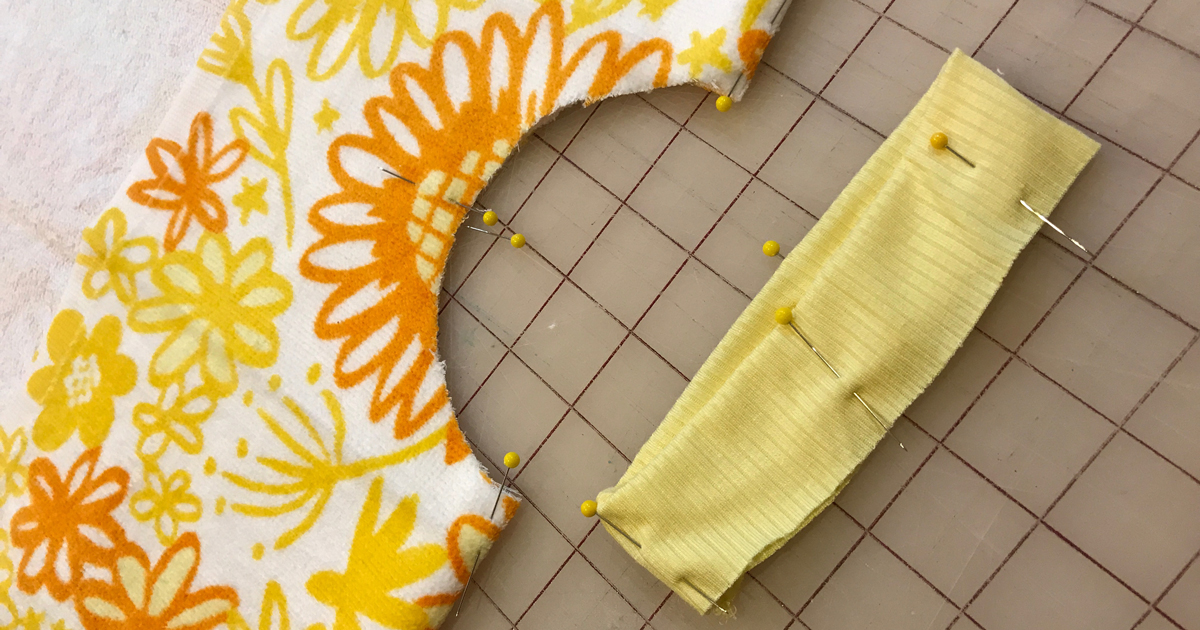
Fold the tube in half lengthwise so the seam is to the inside. Mark the quadrants of both the neckline and neck ribbing with pins.
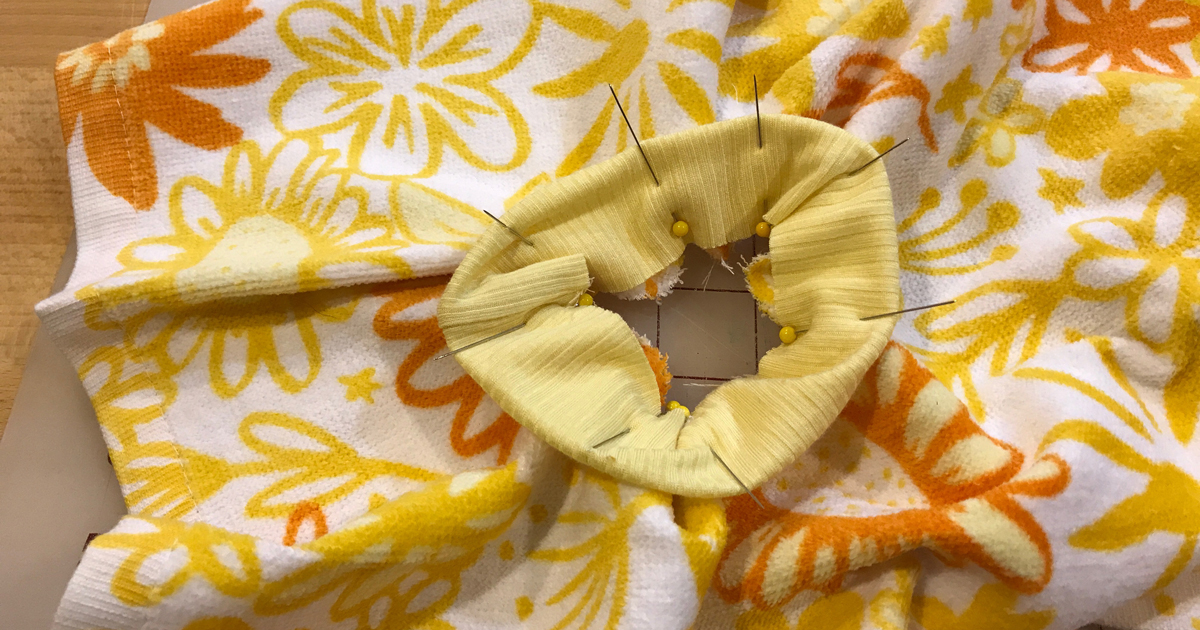
With right sides together and the neck ribbing seam aligned to the back center pin, match the quadrants of pins. Pin! Pin! Pin!
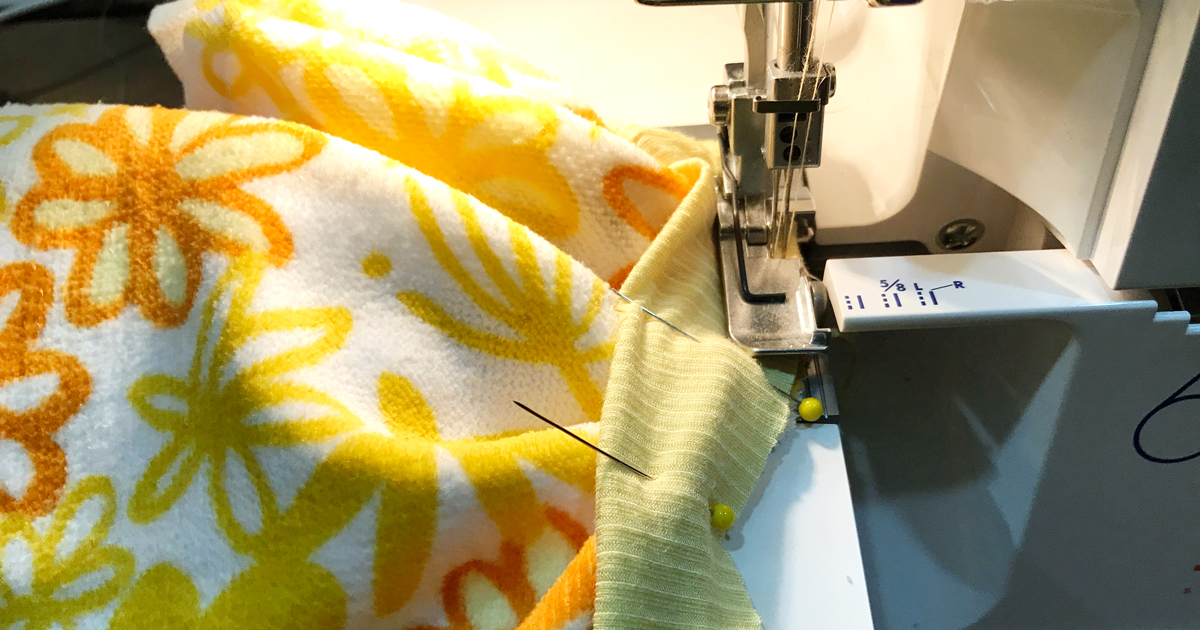
Serge along the unfinished edge of both layers making certain to catch the dishtowel underneath. Note: This step could also be completed on a sewing machine with a straight stitch and an overcast zigzag stitch.
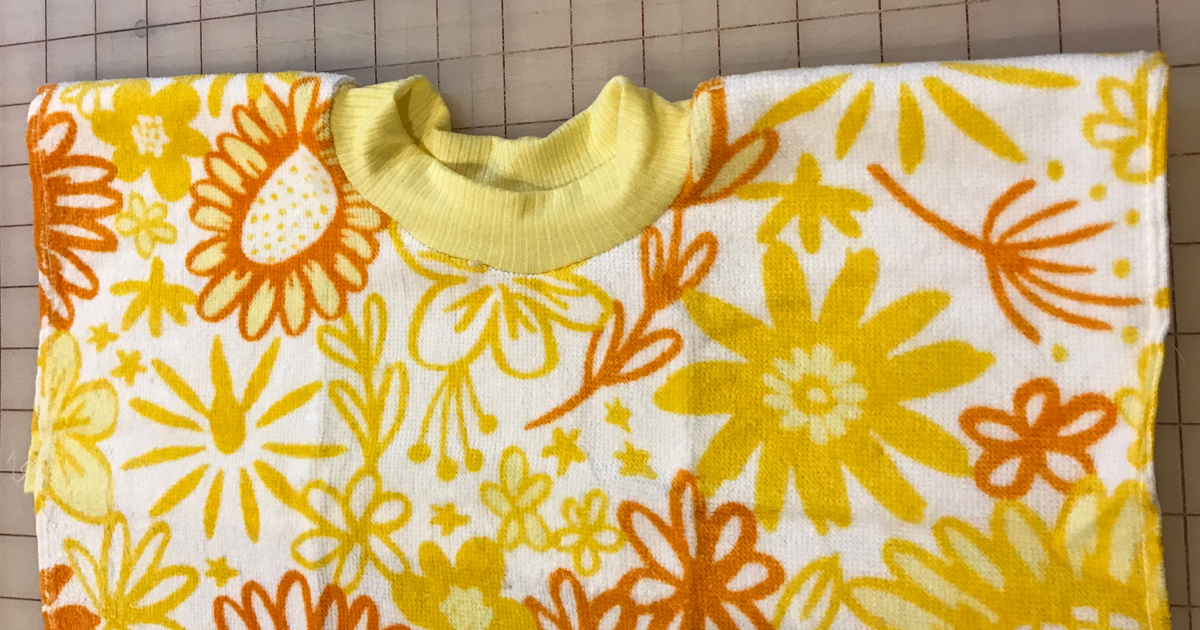
Adjust the neckline so it lays flat. Voila! You’re done.
Look Out World, Here She Comes!
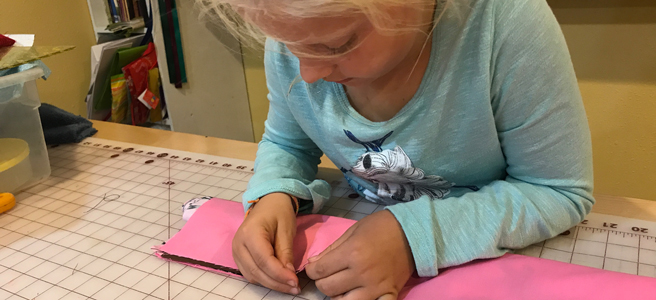
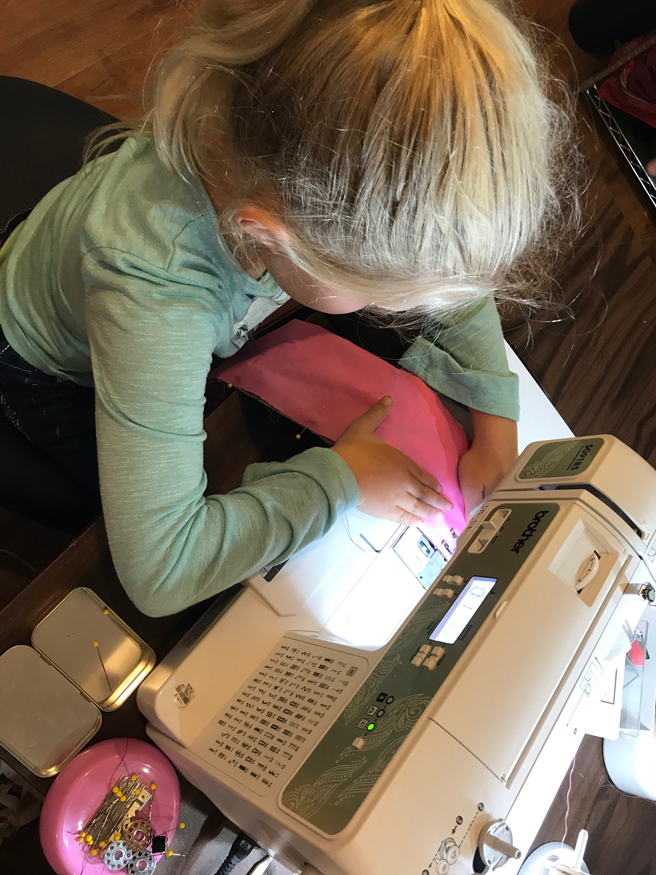
The last two weeks, I’ve had the privilege of sewing with a family friend’s daughter.
It’s been quite a few years since I’ve sewn with a child and I have to admit I was a bit intimidated since she’s only seven.
Well. She blew me out of the water!
Pattern Design in Progress
Today, I thought I’d share a couple of sneak peeks of the new baby quilt design I’m working on.

